


What is USB debugging?
Android's USB debugging feature may sound scary
but it's not as complex as it may seem. USB debugging is basically just
a way to allow an Android smartphone to transfer information to and
from a computer. Below we tell you what exactly it is and how you
can use it.
What is USB debugging?
As the name suggests, USB debugging relates to the act of tracking bugs via USB. Traditionally, Android app developers would use this process to test software and find problems using the Android Studio development kit on a computer. Nowadays, it is used by both developers and Android users to assist in tasks such as installing a custom recovery, rooting a device, installing a new ROM and more.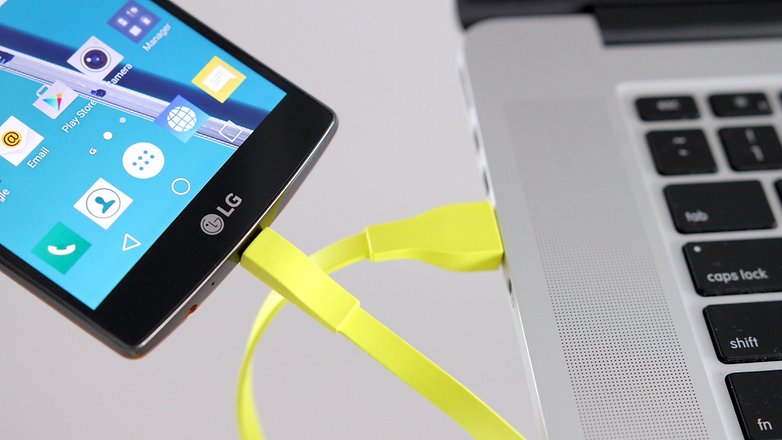
How do I enable USB debugging?
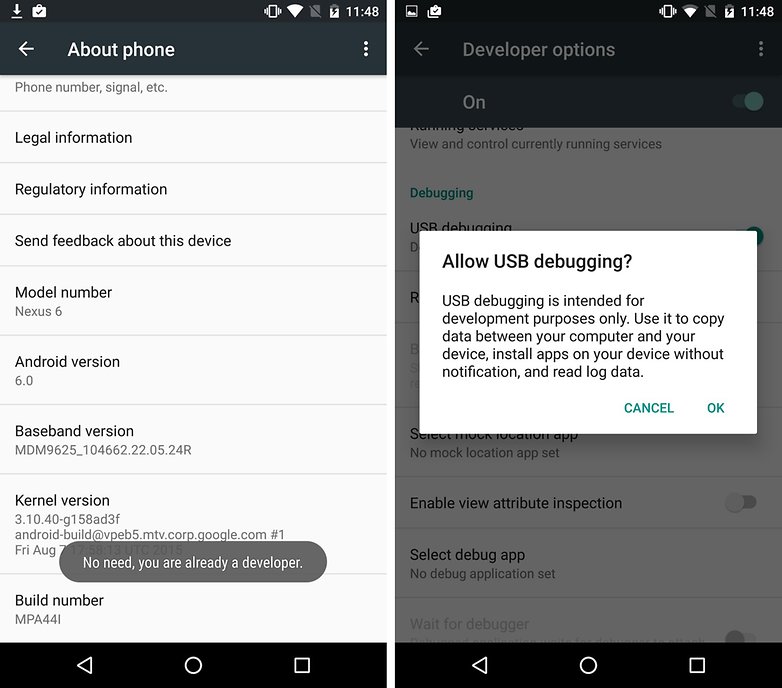
To enable USB debugging, you first must enable the 'Developer options' menu in Android (if you haven't already). Here are the complete steps:- Go to the settings of your device by pulling down the notification shade and hitting the 'cog' icon
- Scroll down to 'About phone'
- Tap on 'build number' about 7 times until you see a message saying Developer options are activated
- Hit back and you will see the Developer options menu appear at the bottom of the settings page
- Tap on it and scroll down until you see USB debugging; press it and hit 'okay' to enable it
- Open the settings
- Tap on Applications (sometimes called Apps or App Manager)
- Scroll down until you find the Developer options
- Tap on this and enable USB debugging
Do you have any other questions about USB debugging? Let us know in the comments.


0 comments:
Post a Comment